 English
 Polish
User manual License Manager
Generating and installing a license
The following instructions describe the process of self-generating a license certificate using the License Manager, which requires a set of controls to work in design mode in Visual Studio.
I. Account registration
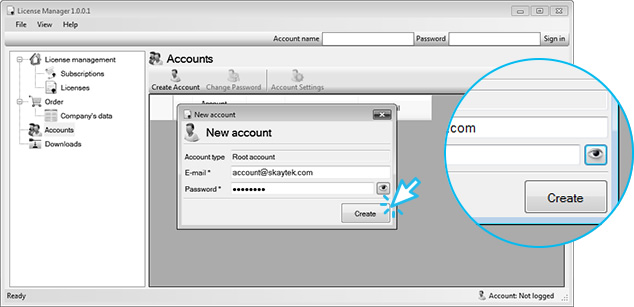
In the first step, create an account. Start License Manager, on the left side you will find the settings tab, select Accounts and click the Create Account button.

In the New account window, enter your email address and password and click the Create button.
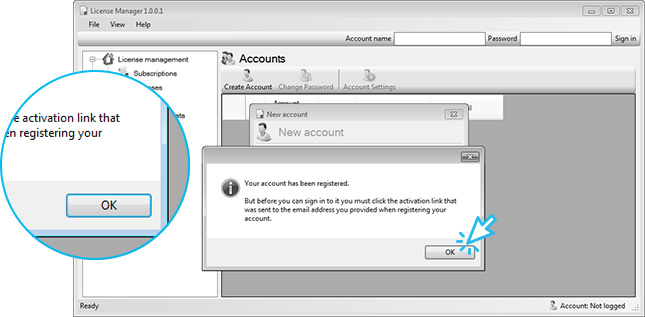
Correct account registration will end with a message. But before you can log in you must click the activation link that was sent to the email address you provided when registering your account.
II. Account registration confirmation
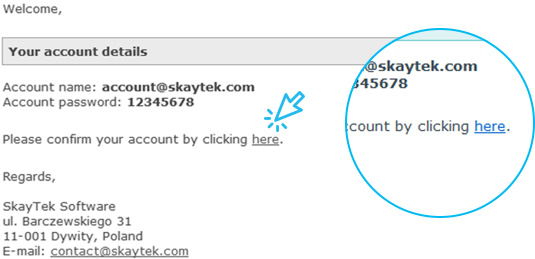
After registering your account you will receive an email with an activation link that you need to click and confirm your account registration.
III. Login to the application
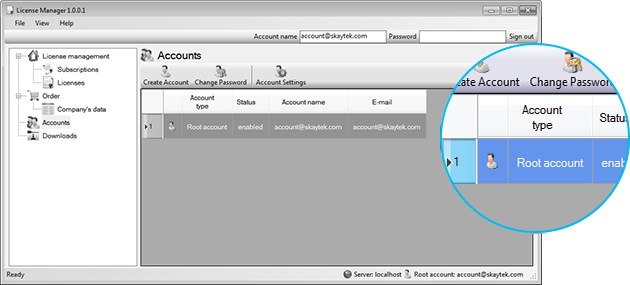
After activating your account, you can now log on to the License Manager application. Enter your account name, password and click the Sign in button.

After you sign in, you'll see a list of accounts.
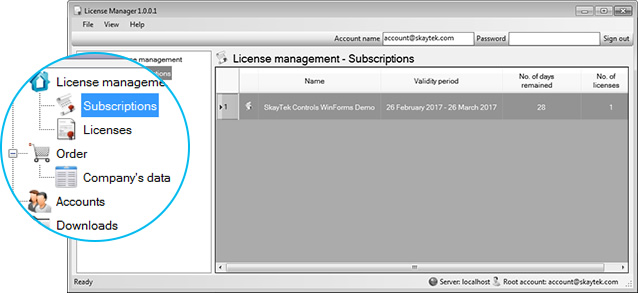
IV. Subscriptions
Choose from the left side Subscriptions tab and check the list if you subscribe to a demo.
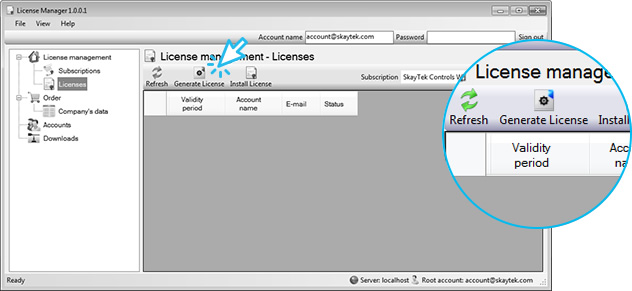
V. licenses
Then select the Licenses tab on the left side and click the Generate License button.
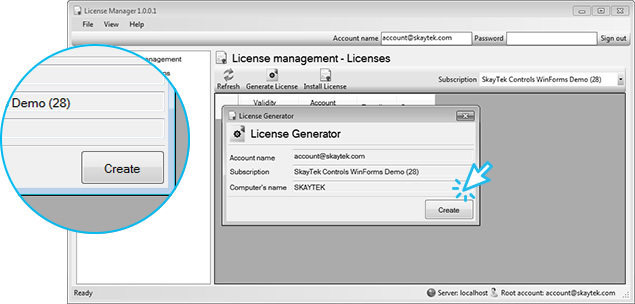
Click the Create button, our server will generate a license for you.
Close the message box and wait for generating license certificate.
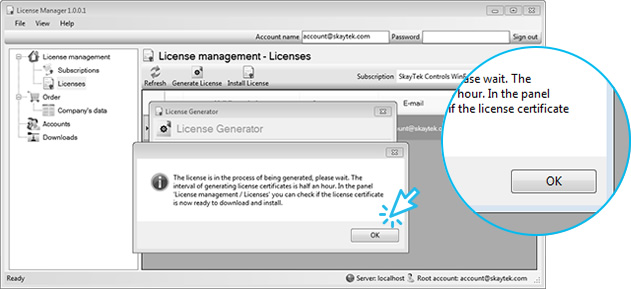
Refresh the list every few minutes until the license status changes to the generated one.
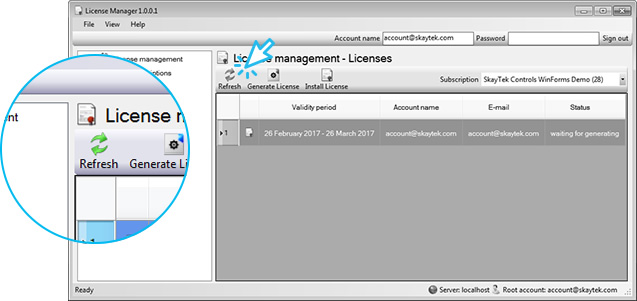
When the license certificate is generated, go to installation step by clicking on the Install License button.

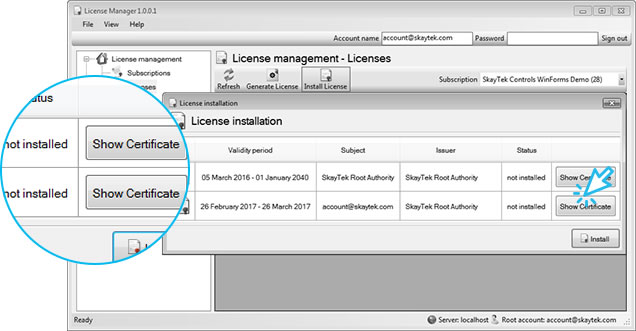
In the installer window you can preview the certificate or go straight to the installation. Click the Show Certificate button. If this is the first license installation, it will require installing the SkayTek Root Authority certificate in the Trusted Root Certification Authorities store. Installing the SkayTek Root Authority requires administrator rights, so if you are not currently logged on with an administrator account, close the License Manager and restart it as an administrator by going back to that point of the installation.
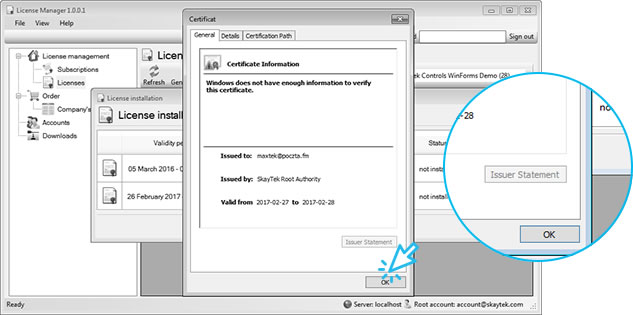
In this step you can see details of the certificate that was generated for you. If this is the first license installation, the certificate details will indicate that it is not yet validated until the SkayTek Root Authority certificate is installed. Close the certificate preview window and proceed to its installation.
Click the Install button.
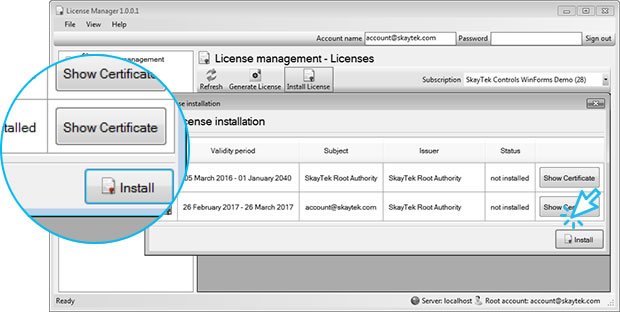
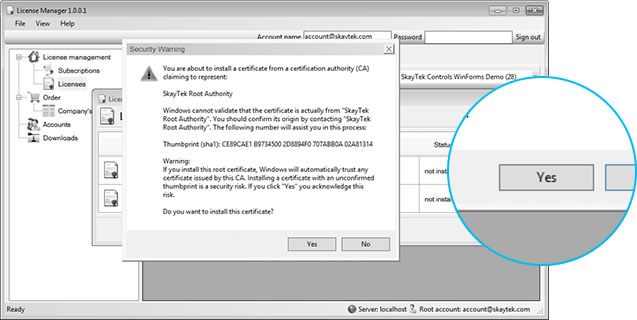
The first installation of the license requires the installation of the SkayTek Root Authority certificate in the Trusted Root Certification Authorities store. The certificate certifies the authenticity of the license that was generated for you. Confirm the installation by clicking Yes.
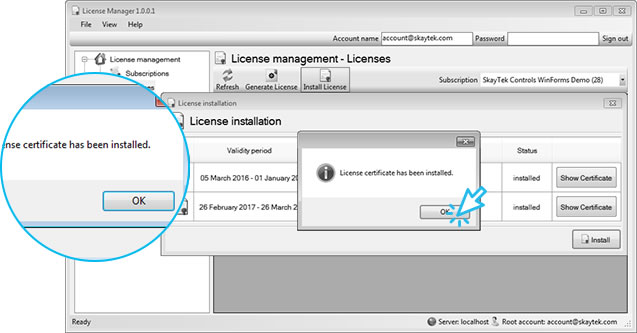
The license has been installed, and you can now use the set of controls in design mode in Visual Studio.
 This site uses cookies to deliver services in accordance with this Privacy Policy. You can specify the conditions for storage or access of cookies on your web browser.